Getting Started
Welcome to CopyQueue, your ultimate file copying solution for macOS! With CopyQueue, you can efficiently manage your file copying tasks, ensuring accuracy, speed, and control. This guide will walk you through the process of creating a new queue and begin copying files in no time.
Create a New Queue
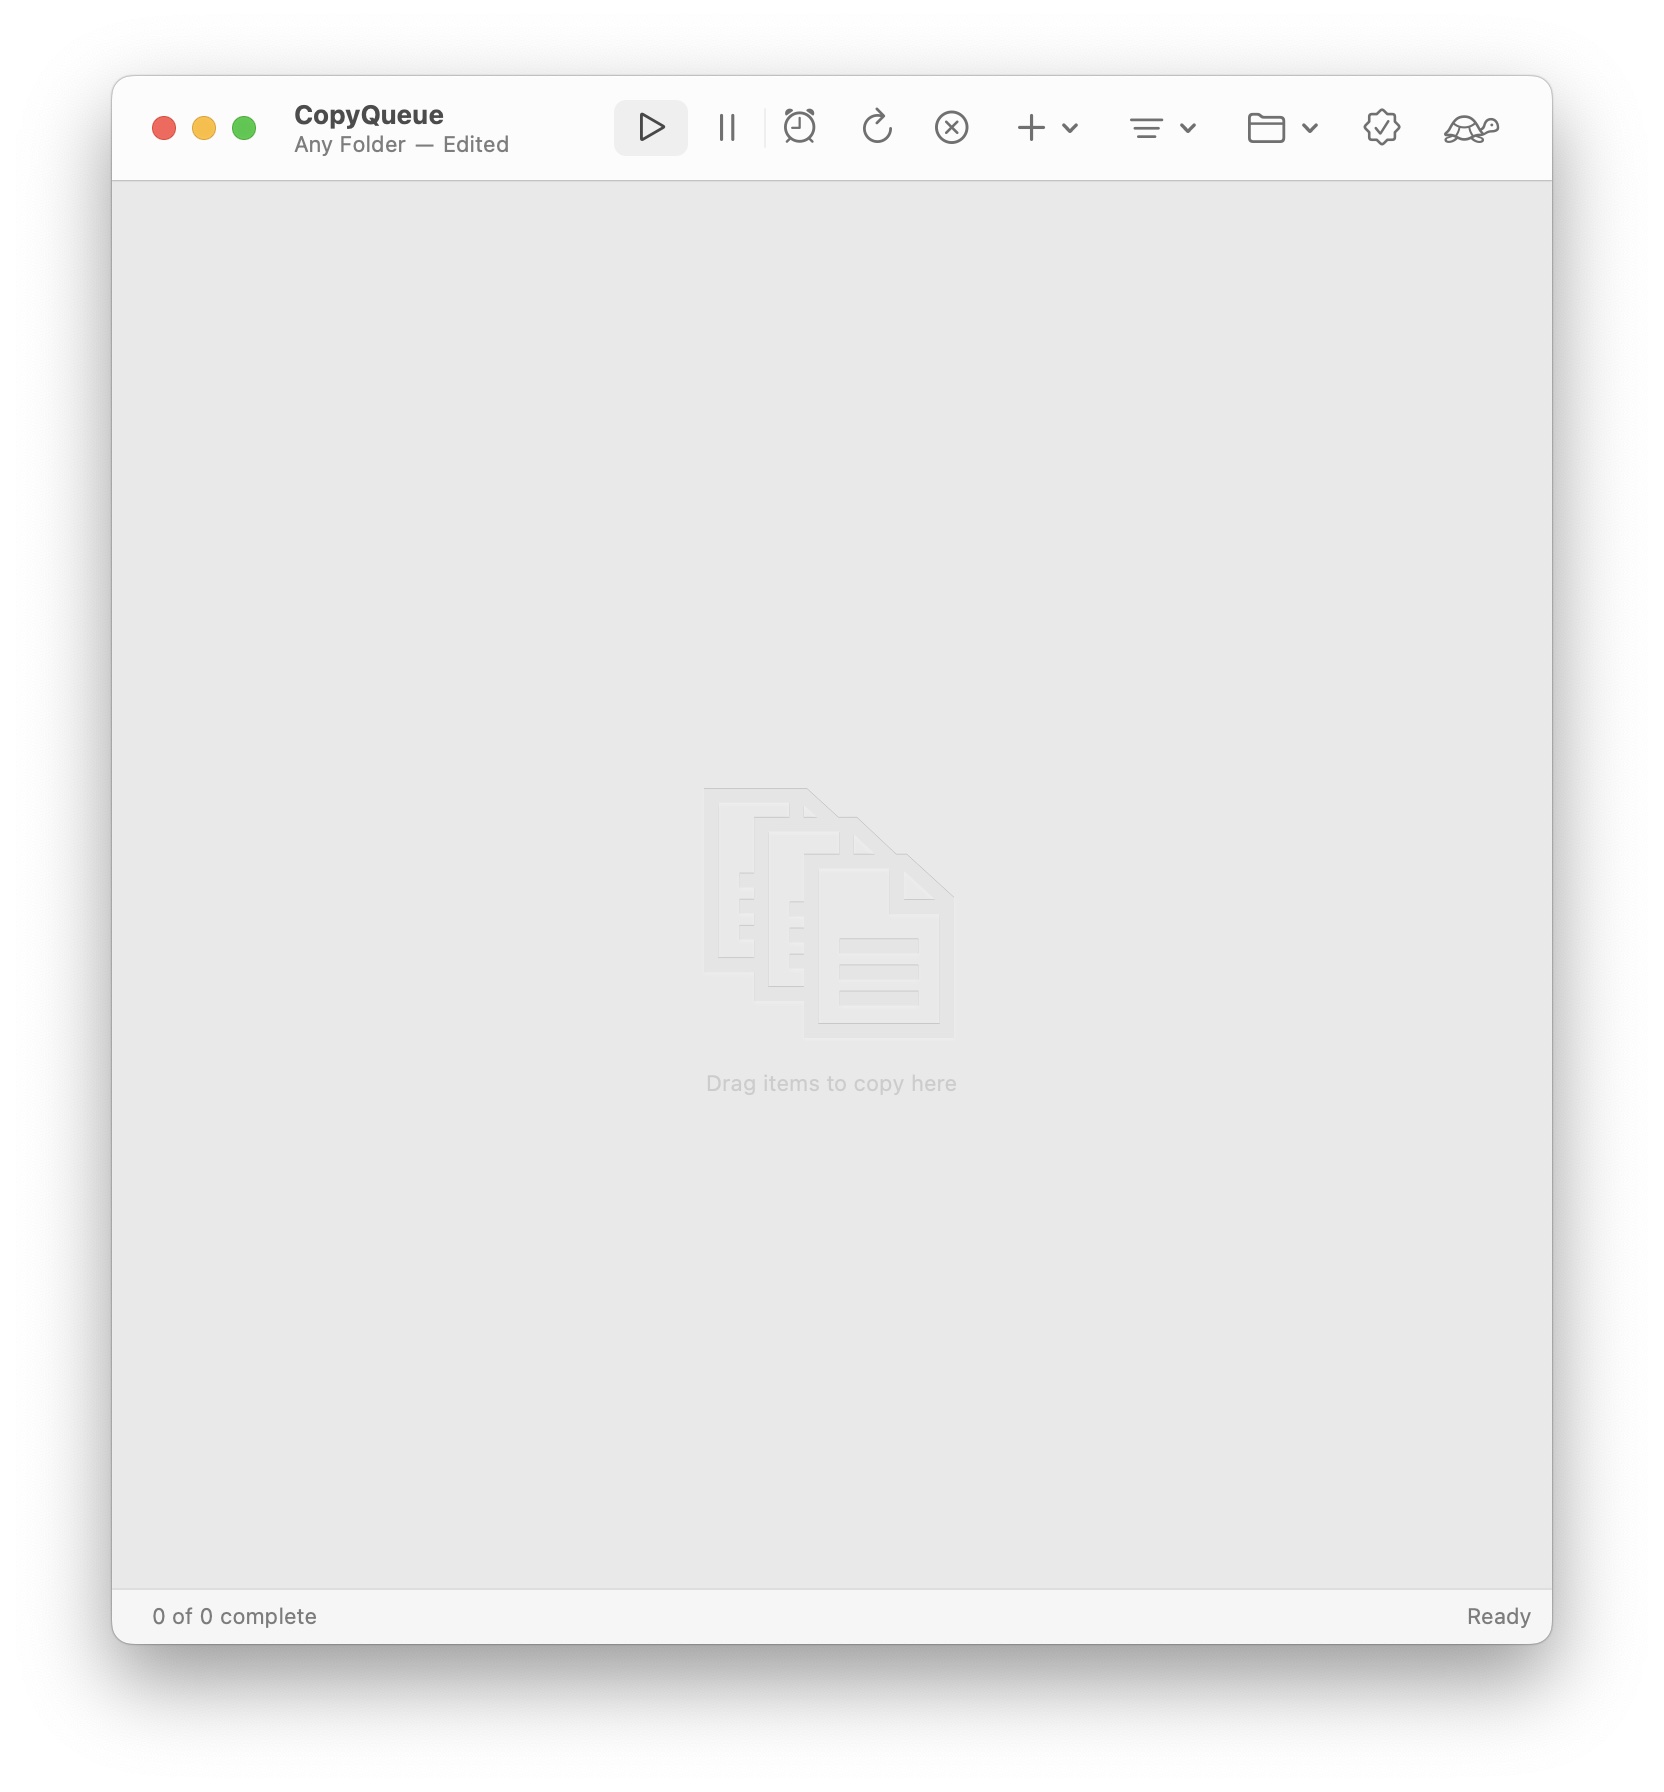
When you first launch CopyQueue, a new empty queue is automatically created for you. The queue is a document which contains the list of copy tasks and the settings that control how the queue will behave. You can create a new queue at any time, and open and save queues like any other document.
Choose the Destination
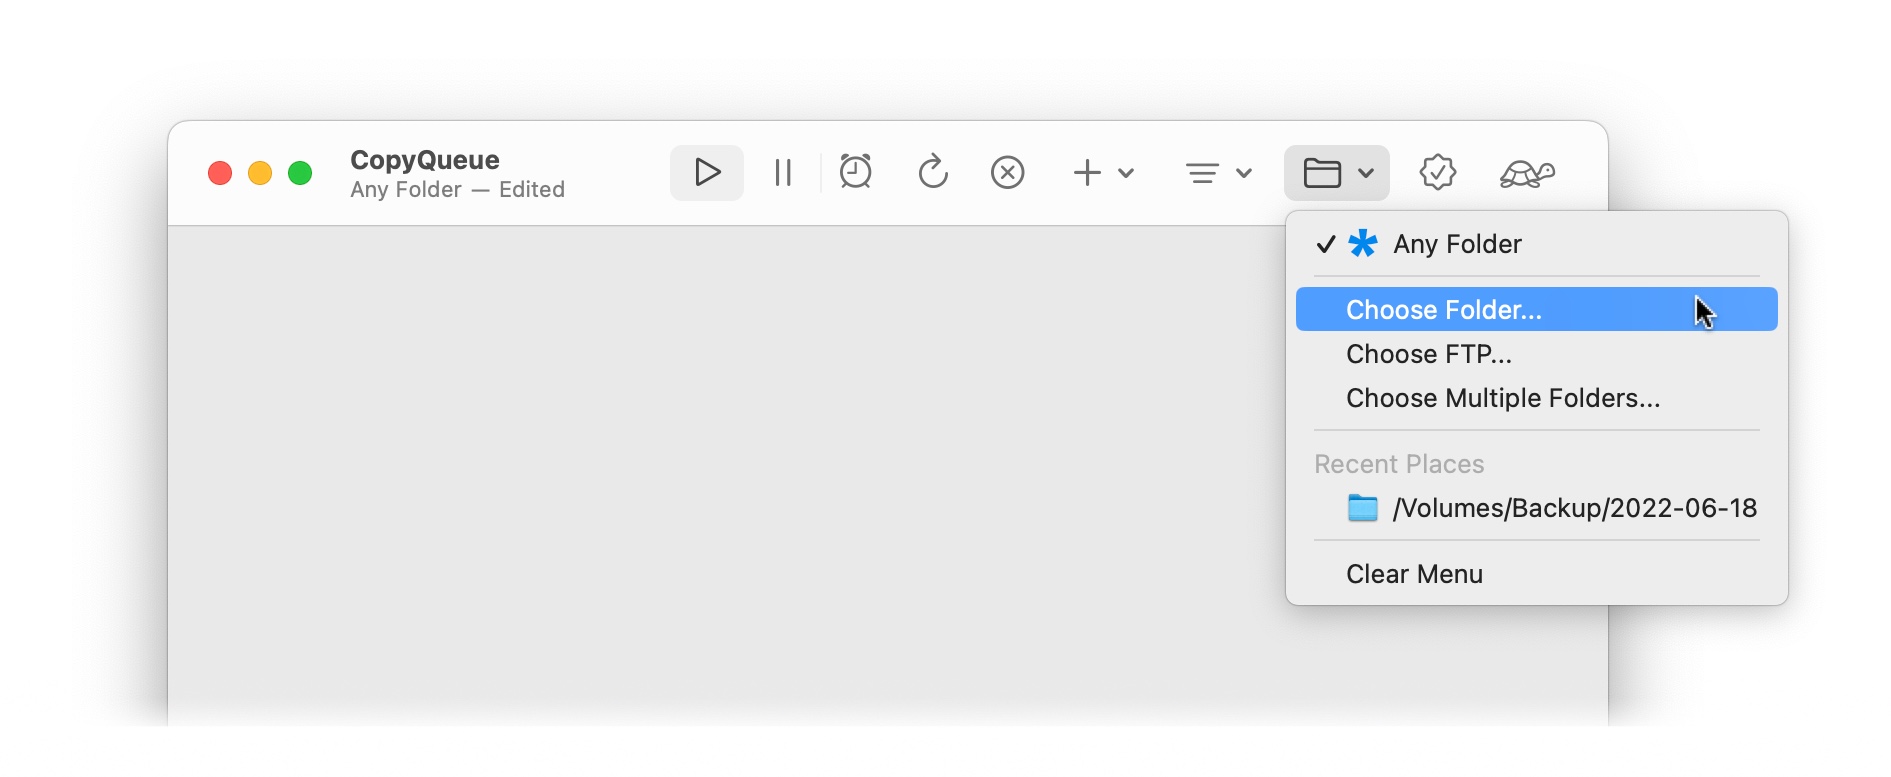
Each copy task needs a destination folder where the new file will be created. At first the queue has a destination of Any Folder, meaning you must choose a destination folder whenever you add a task.
However, a queue is often used to copy files to the same location, for example copying various files to a single backup folder. In these situations, a destination can be set for the queue, and any subsequently added tasks will automatically be copied there.
The queue's destination is displayed as the subtitle of the window. The folder can be set by clicking the button. Other destination types such as FTP and multiple folders can also be selected here.
TIP
You can drag and drop a folder from Finder onto the button to set the destination quickly and easily.
Add Files to the Queue
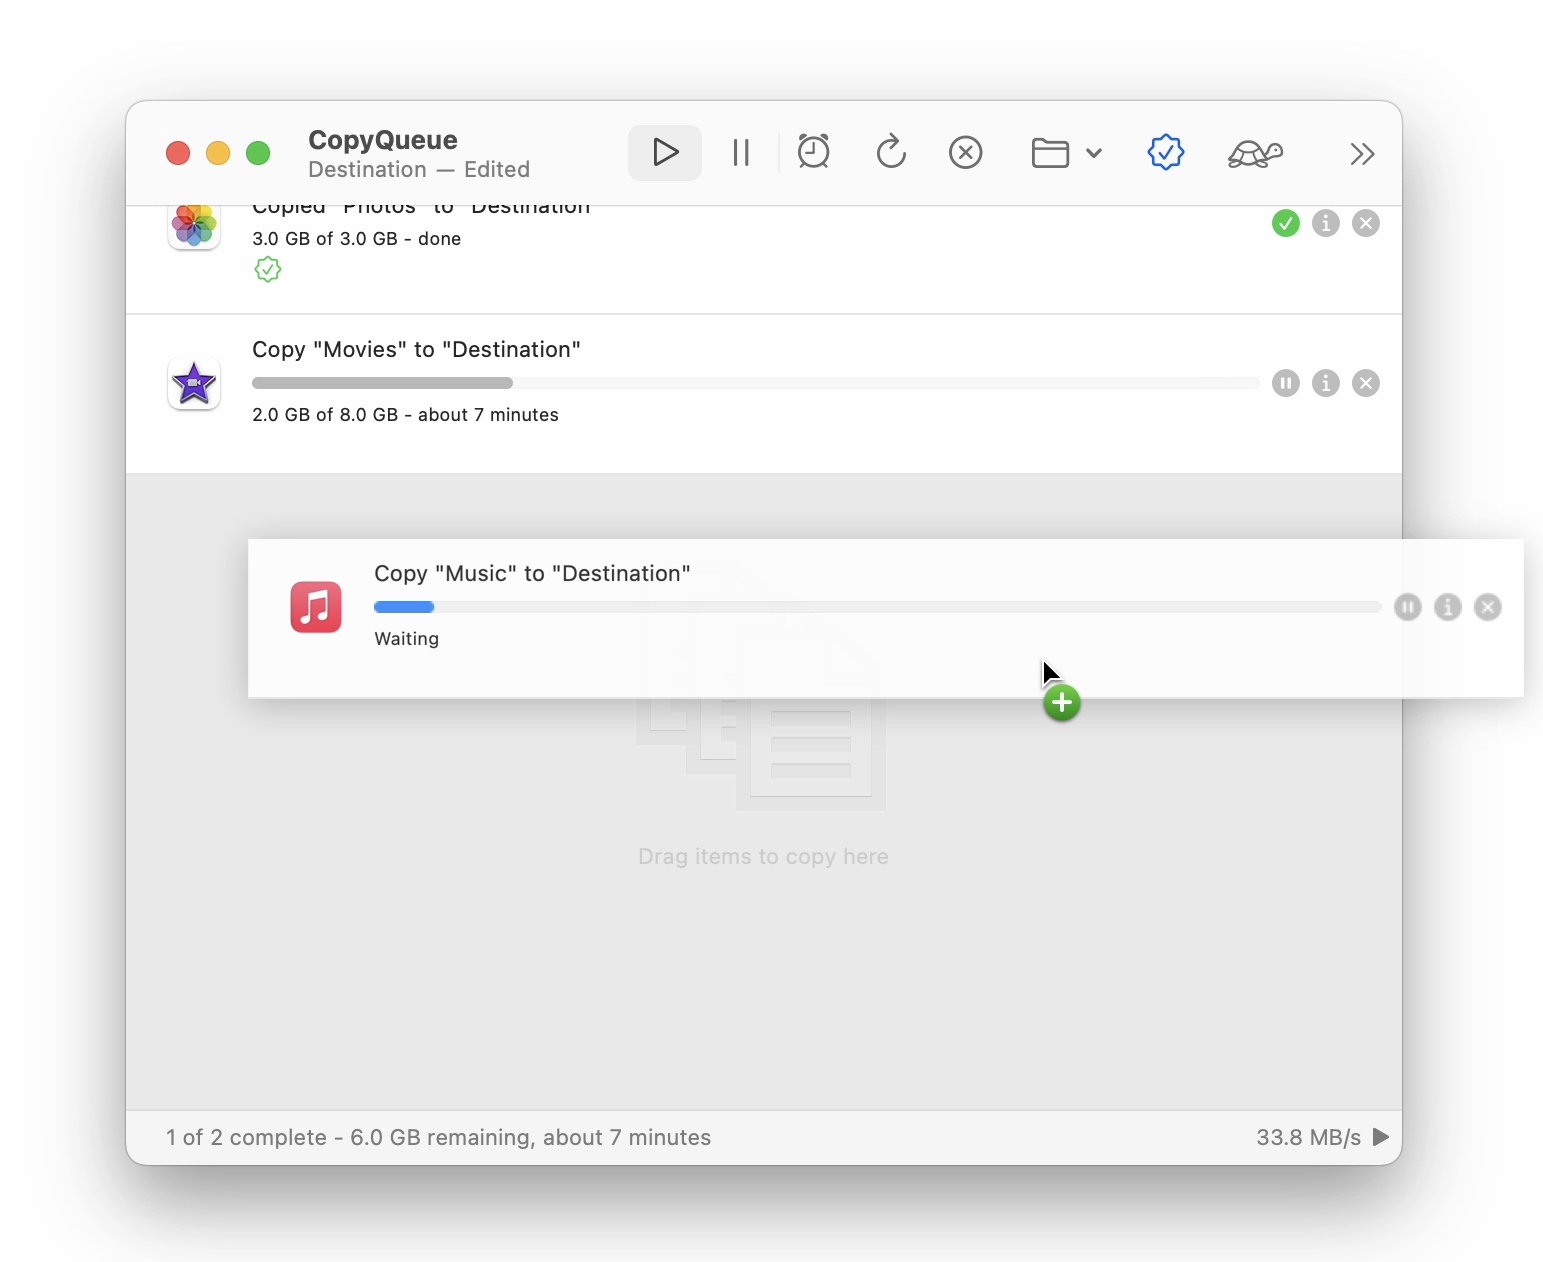
Now the queue is ready, you can add files and start copying!
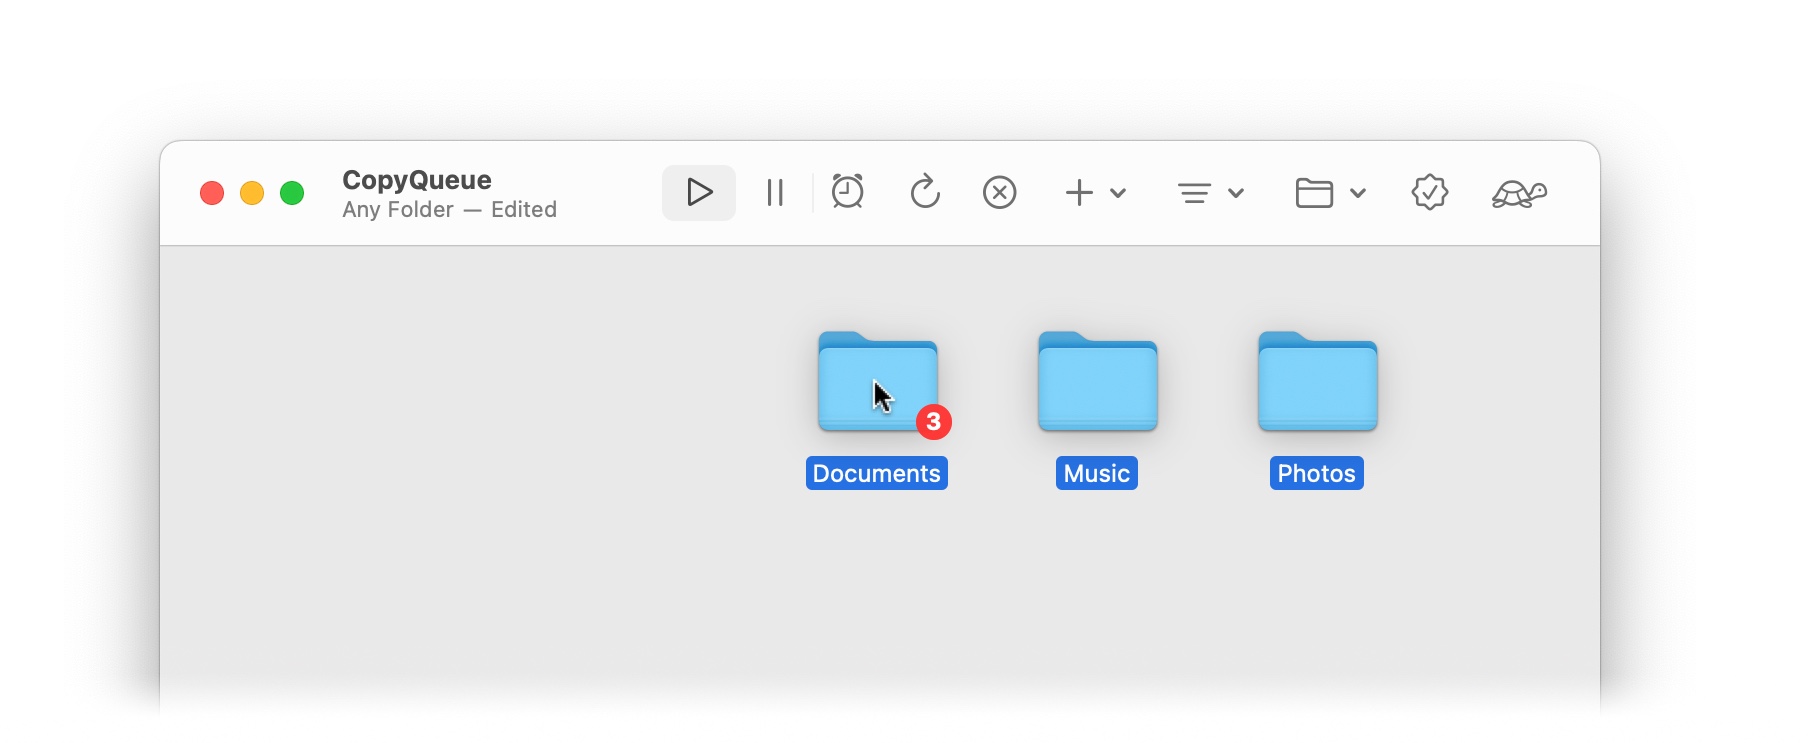
- Simply drag files or folders from the Finder into the queue.
- Use the button on the toolbar to choose files, ftp sources or urls.
- Press ⌘+C to copy files in a Finder window or another CopyQueue document, and press ⌘+V to paste them into this queue.
When an item is added to the queue, CopyQueue first analyses the files and where they are being copied. It will calculate the total size being copied, detect if there are partially copied files present, and determine where to resume copying.
Control the Queue
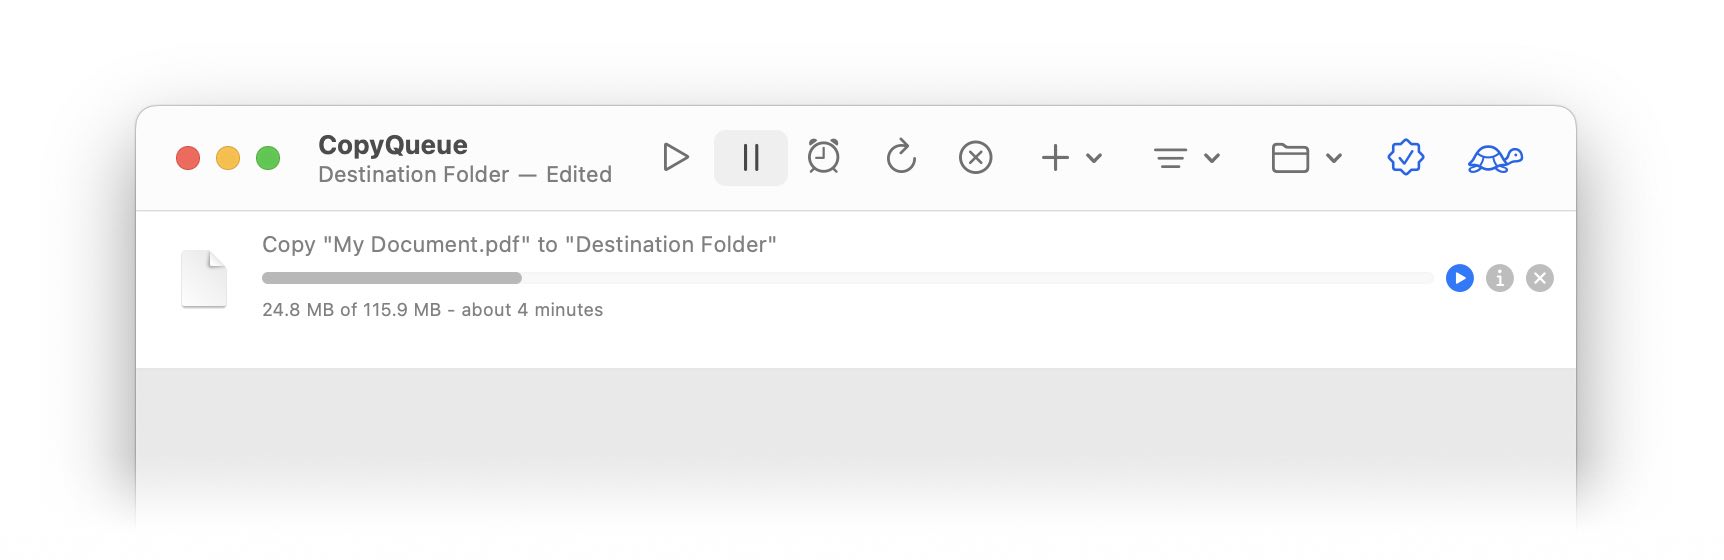
The queue can be paused and resumed as a whole by using the and buttons on the toolbar, from the menu, or by pressing space on the keyboard. It often makes sense to pause the queue initially while adding files and adjusting settings, then resuming it to initiate the copy process.
TIP
All operations work on the running queue. There is no need to pause the queue to sort the tasks, add or remove tasks, change the speed limit or other settings.
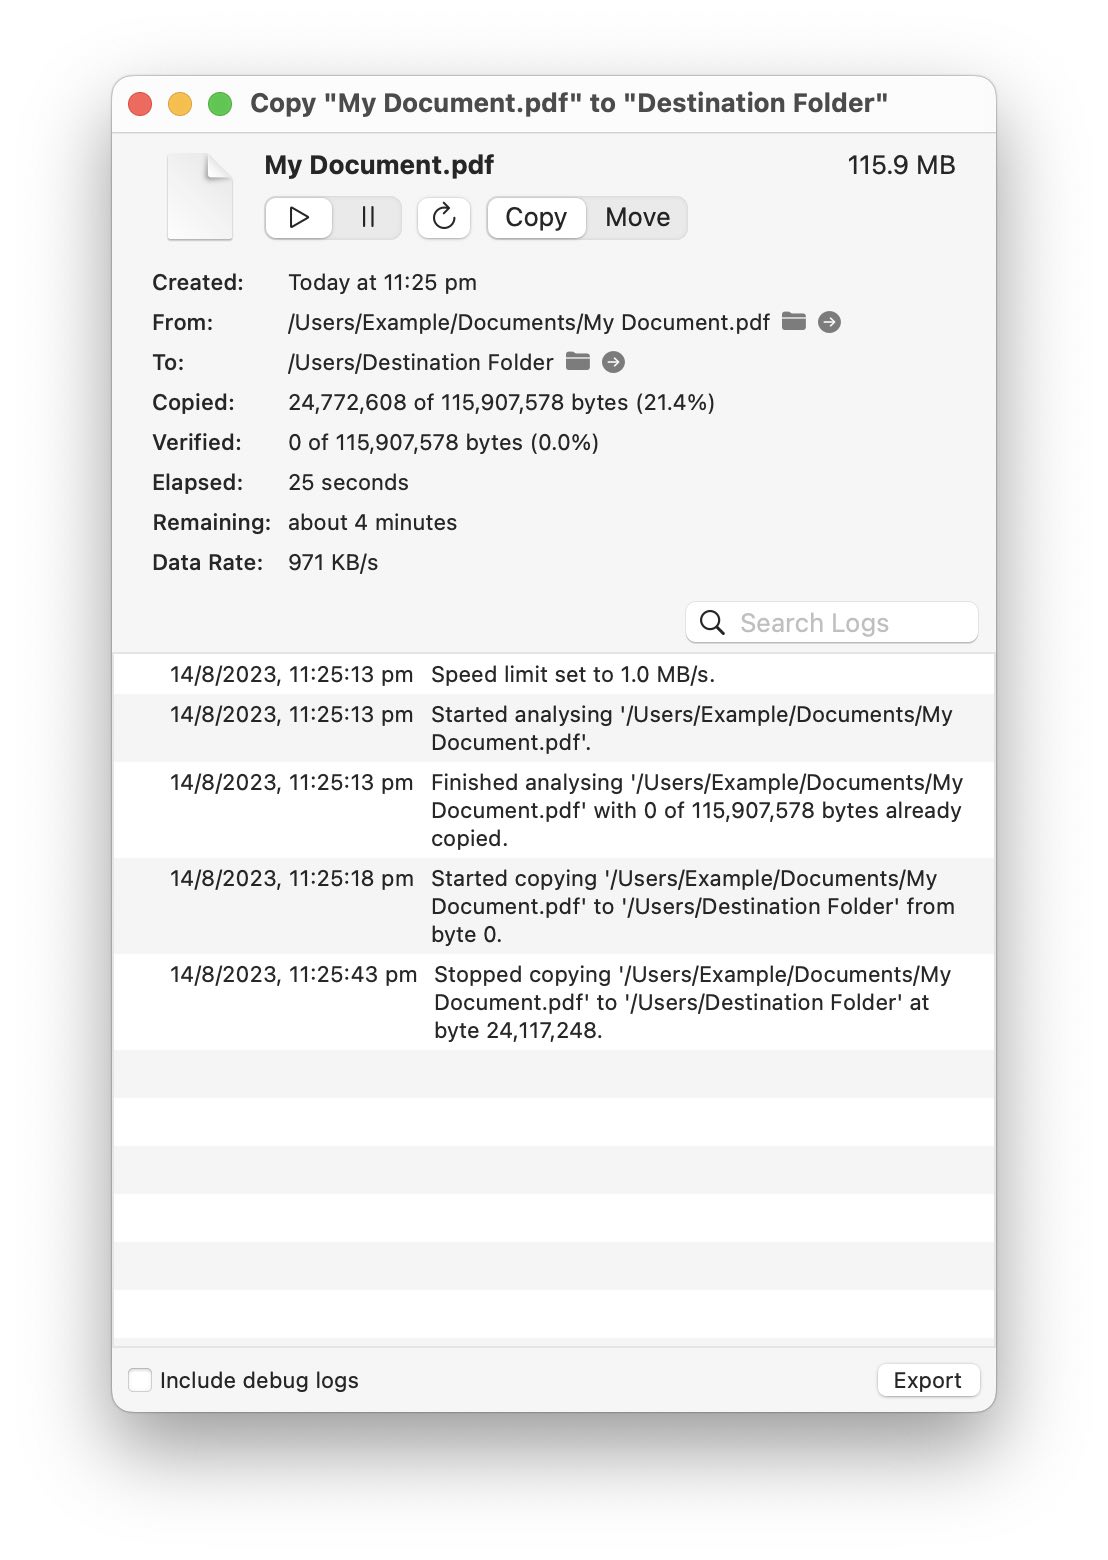
Details of each task can be viewed by clicking the button on the task. The info window which appears gives full control of the particular task, allowing you to suspend and resume it, restart it, and change from copy to move.
Organizing the Tasks
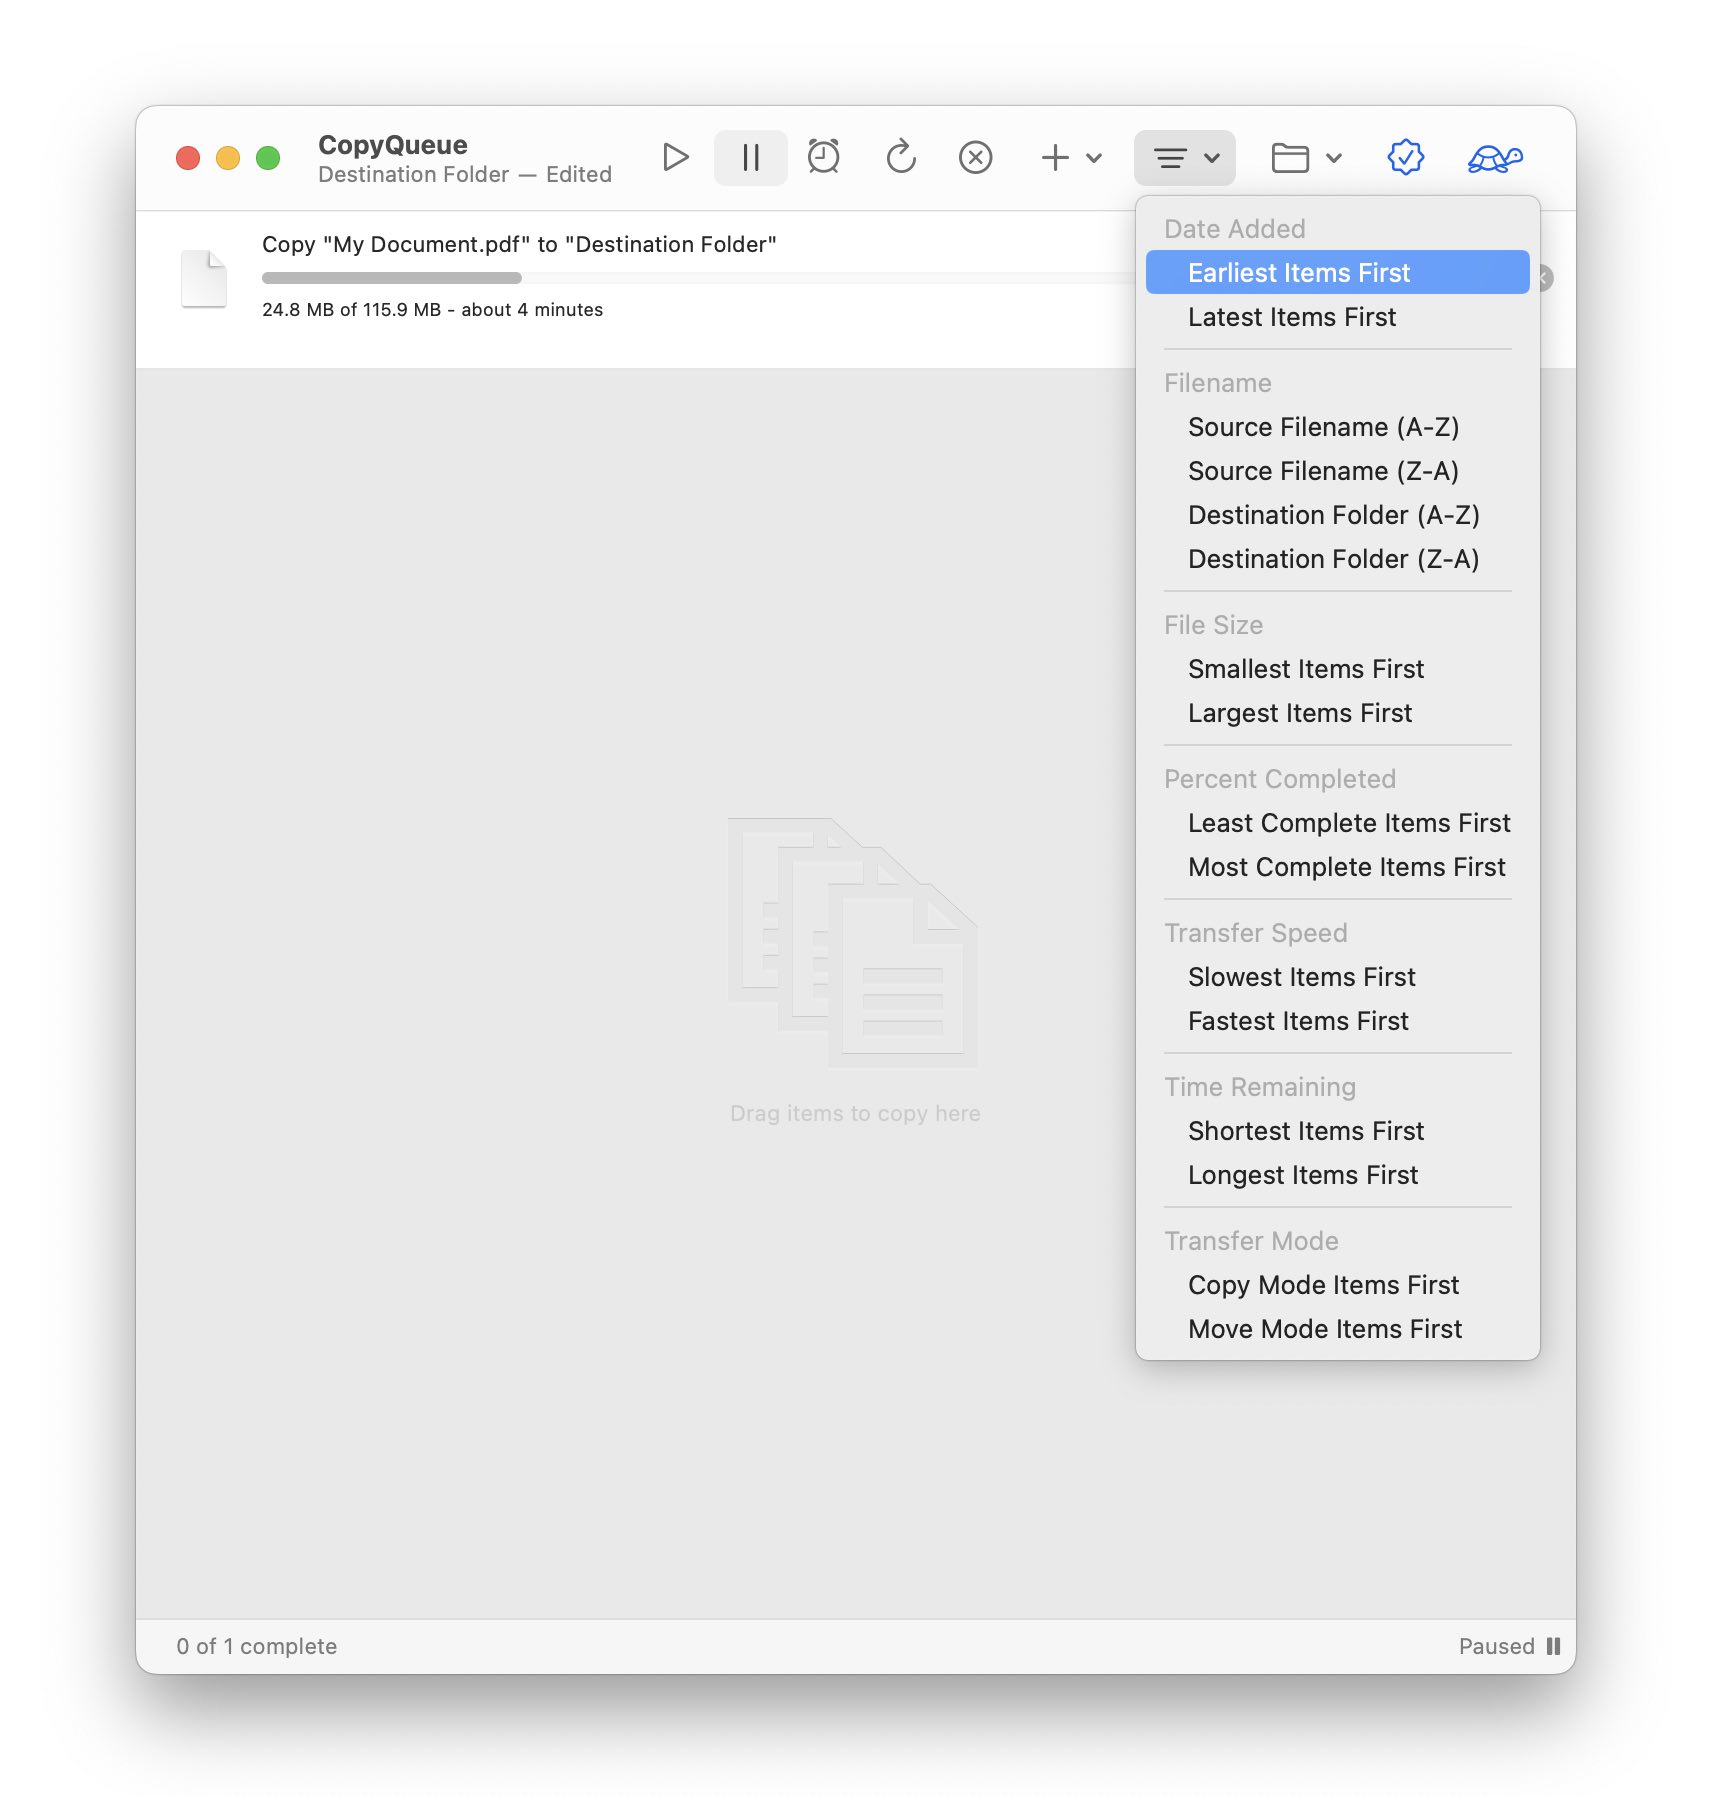
By default, CopyQueue copies files in the order you add them. However, you can rearrange the sequence by dragging them up or down in the list to determine the copy order.
CopyQueue also allows you to sort the queue by many different factors, from the toolbar or menu.
If you decide you no longer want to copy a particular file, you can cancel the task at any time by clicking the button on the task.
And if you want to copy a file but not just yet, you can suspend the task by clicking the button. The task will not proceed until you click the button again to resume it.
Conclusion
Congratulations! You have successfully created a new queue document in CopyQueue and initiated your first file copying operations. With CopyQueue's sequential copying, file verification, and advanced features, your file copying tasks will now be more efficient, reliable, and under your complete control.
For more in-depth features and customization options, explore the CopyQueue documentation. Should you have any questions or need assistance, don't hesitate to contact support. Happy copying!